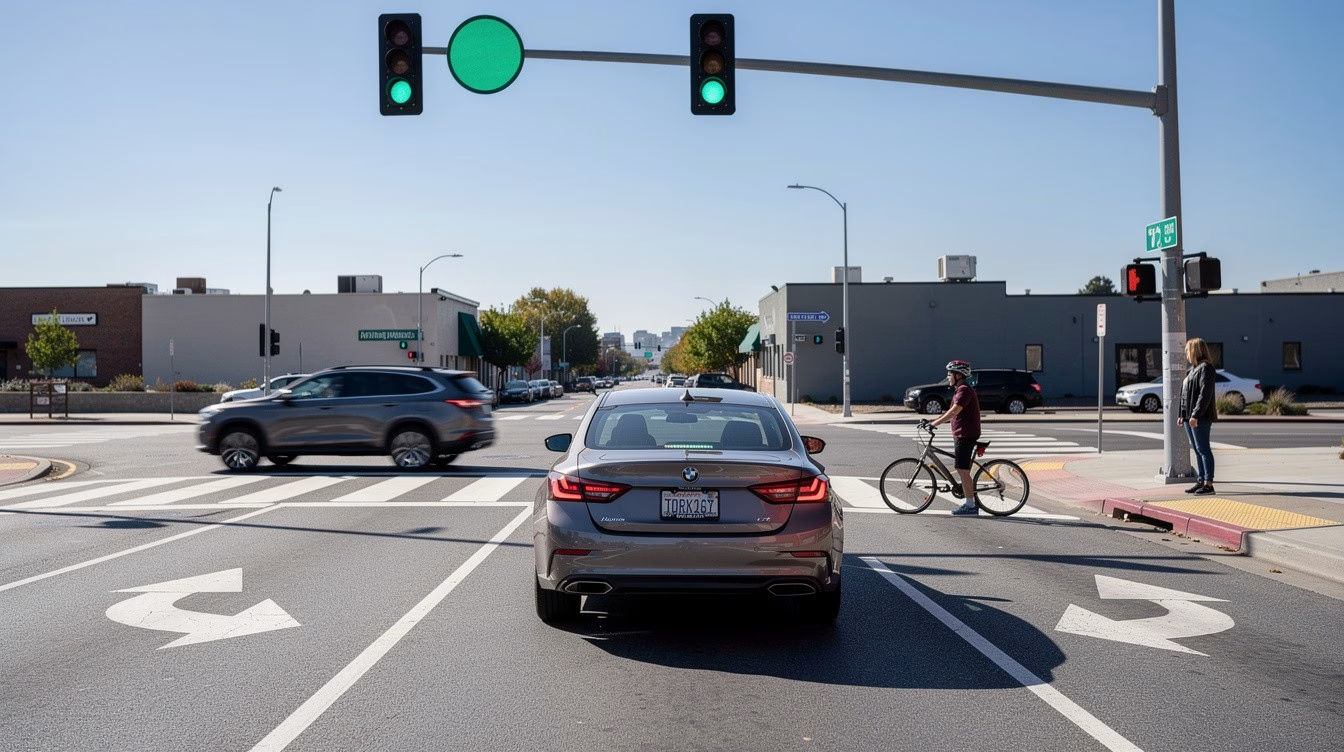
Rain starts as drizzle on I-95, then turns into a wall of water in under a minute. Traffic bunches. The wipers slap across the glass and still lose. Then the lane ahead goes mirror-flat where the pavement dips, and you have about two seconds to decide what to do about it.
Most wet-weather advice stops at slow down. That’s not a decision, it’s a mood. You need a threshold, a sequence of inputs and a stop condition, and you need all three before the puddle is under your front tires.
There’s no universal safe speed at which hydroplaning becomes impossible. That’s the honest answer, and it’s the one most guides dodge. What exists is a decision rule built from water depth, tire tread, inflation, speed and how many risks are stacked on top of each other. Here’s how to avoid hydroplaning with a plan instead of a hope.
Speeds, Pressures and When to Slow Down
The clearest published numbers on this come from an NHTSA analysis of tire pressure and hydroplaning speed. It models one specific condition: water deep enough that it exceeds what the tread can evacuate.
| Tire pressure | Estimated hydroplaning speed | Condition behind the estimate |
|---|---|---|
| 30 psi | 56.7 mph | Simplified model, water deeper than tread can evacuate |
| 25 psi | 51.8 mph | Simplified model, water deeper than tread can evacuate |
| 20 psi | 46.3 mph | Simplified model, water deeper than tread can evacuate |
Read those rows as a trend. The 10 psi gap between the top and bottom row costs more than 10 mph of margin, and the same analysis warns that speeds above 50 mph combined with underinflation reduce tire-to-road contact. Proper inflation is the cheapest safety upgrade you can make, and almost nobody checks it.
Why the steering suddenly goes light
There’s a physical reason a wet road feels different, and it goes beyond reduced grip. NHTSA’s description of the hydroplaning mechanism explains that water works like a bearing between the pavement and the tire’s contact area. At a particular speed the film covers the whole contact surface, and the fluid can’t sustain the shear forces dry asphalt carries.
At 60 mph on a dipped lane, the front tires meet a sheet of standing water. The wheel goes light. The engine note climbs while the car holds speed. Nothing has broken. The tires have climbed onto water and stopped relaying steering commands.
Partial separation comes first. Complete loss follows if you keep the same speed and the same inputs.
Why no universal safe speed exists
Every driver wants one number. No such number exists. A University of Georgia report on hydroplaning prevention lays out the variables that interact: speed, tread depth and pattern, inflation pressure, pavement texture, water depth, vehicle load and drainage. It also notes that water-film thickness has a smaller effect than many drivers assume, which is exactly why a shallow-looking road can still take the wheel out of your hands.
Laboratory work summarized in that report found hydroplaning speed rises with tread depth, pavement roughness and inflation pressure. The same report describes real-time estimation research that observed the onset of partial hydroplaning at approximately 30 mph under the tested tire, surface and setup. That figure is a lab result, and it proves the process starts earlier than many believe.
The decision rule to use
Skip the single-speed question. Count risk factors instead.
- Standing water across your lane: water depth decides more about your outcome than your speed does.
- Heavy rain or spray that hides the surface: you can’t read the water, so you can’t judge your margin.
- Darkness: you spot the hazard later and you have less room to react.
- Worn tires or pressure you haven’t checked this month: your drainage capacity is already compromised.
- Poor drainage, low spots or rutted outside lanes: the water collects exactly where you’re driving.
Two of those at once and you cut speed hard and add following distance. Three or more and pulling off for twenty minutes is the smarter call.
Curves deserve their own line. Simulation research on wet-road emergency braking in curves put the modeled safe reference speed at roughly 78 km/h on wet-contact surfaces and 73 km/h on water-covered surfaces, and recommended lower speeds plus longer following gaps in rain. Enter a wet curve well below your dry-pavement pace, and finish your braking before the arc begins.
When to stop driving
Stop when visibility drops sharply, when the car has already slid and full traction hasn’t returned, or when water is running deep across several lanes. Those aren’t conditions to push through.
Signal early, ease onto the shoulder, switch on your hazards and wait for the storm to ease. Twenty minutes in a parking lot beats an afternoon on the shoulder with a smashed front end.
A posted speed limit is a dry-pavement number. It never becomes a wet-weather target, no matter how late you are. If you want a framework for setting your own pace in bad conditions, our lesson on speed management walks through it.
Tire Checks That Cut Your Hydroplaning Risk
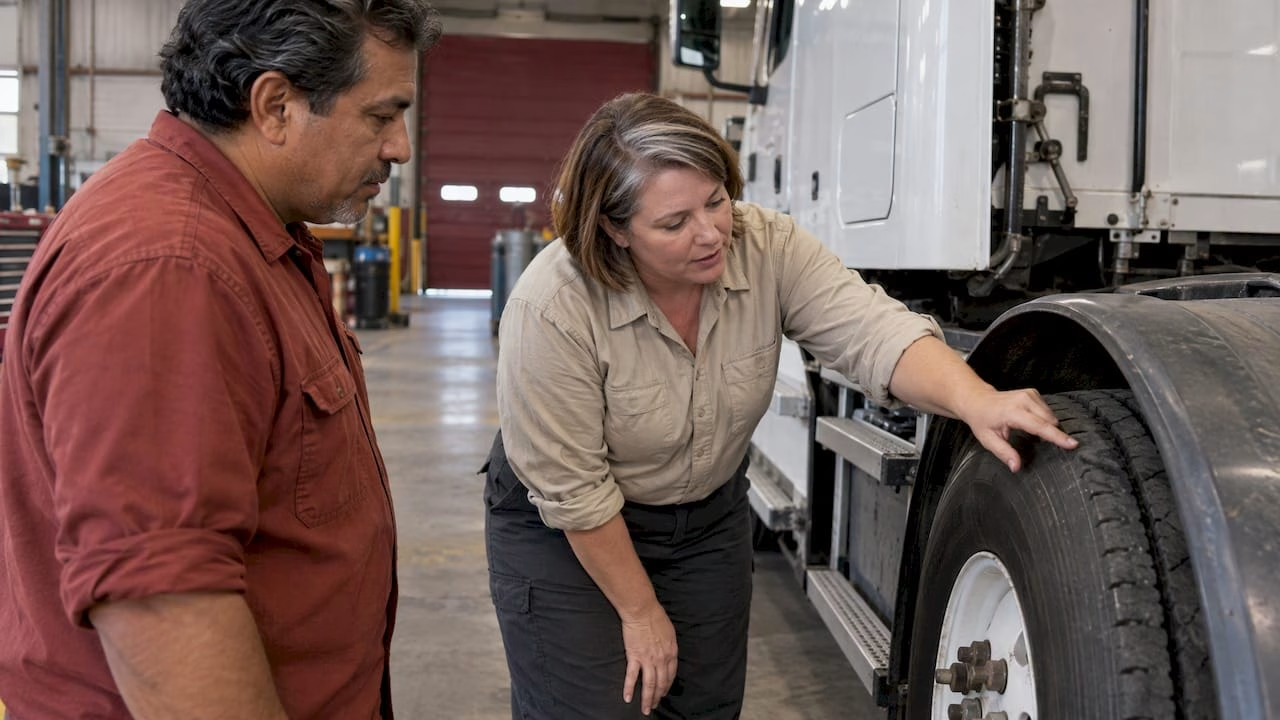
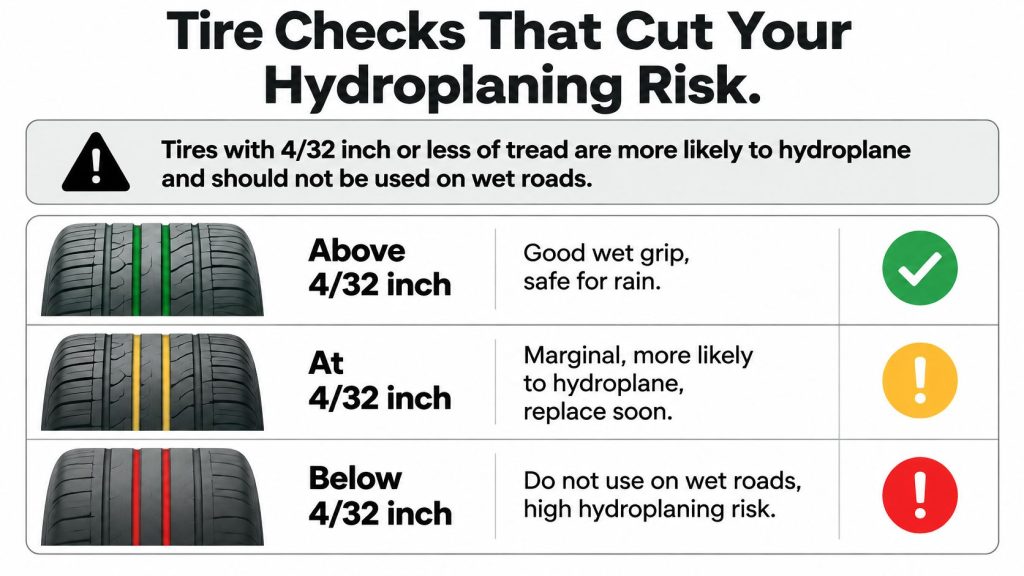
Tread is the one variable you fully control before the rain arrives. Vehicle-owner guidance hosted by NHTSA on tread depth and hydroplaning is blunt about it: tires with less than 4/32 inch, or 3 mm, of tread are more likely to hydroplane in wet conditions and should not be used.
That threshold is stricter than the legal one, and it should be.
| Tread depth | Wet-road risk | Action |
|---|---|---|
| Above 4/32 inch | Acceptable for wet roads | Check monthly and before rain season |
| 4/32 inch or less (3 mm) | Higher hydroplaning risk; do not use on wet roads | Replace the tire |
| 2/32 inch | Legal minimum in many U.S. states, too close to the limit | Replace before it is reached |
The 2/32-inch figure is a legal floor, not a safety target. A tire at 2/32 has already surrendered most of the groove volume that pumps water out from under the contact patch. Treat 4/32 as your replacement line and stop negotiating with it.
How to measure in under two minutes
Use a tread depth gauge, the pencil-style tool any parts store sells for a few dollars. Push the probe into the groove at three points across the tread: inner edge, center and outer edge, on all four tires. Your lowest reading is the number.
Read the wear pattern while you’re crouched there:
- Worn in the center only: pressure has been running high.
- Worn on both edges: pressure has been running low.
- Worn on one edge: alignment or suspension problem, and that tire is closer to replacement than the depth gauge suggests.
Pressure belongs at the placard number
Set cold pressure to the manufacturer’s placard on the driver’s doorjamb or in the owner’s manual. Never to the maximum pressure molded into the sidewall, which describes the tire’s limit rather than your car’s requirement. Check monthly and again before the rainy season starts.
If you’ve just adjusted pressures and a warning light is still glowing, reset the tire pressure warning light before you decide the sensor is broken.
Put the best tires on the rear
The same NHTSA-hosted guidance recommends mounting the tires with the most tread on the rear axle, and that advice is not cosmetic. Losing rear grip produces oversteer and spins, and a spin in traffic is far harder to catch than a push at the front. If you’re buying only two tires, the new pair goes on the back.
Before the first storm of the season, verify three things: tread on all four tires against the 4/32-inch line, pressure at the placard number on all four, and the condition of the rear pair.
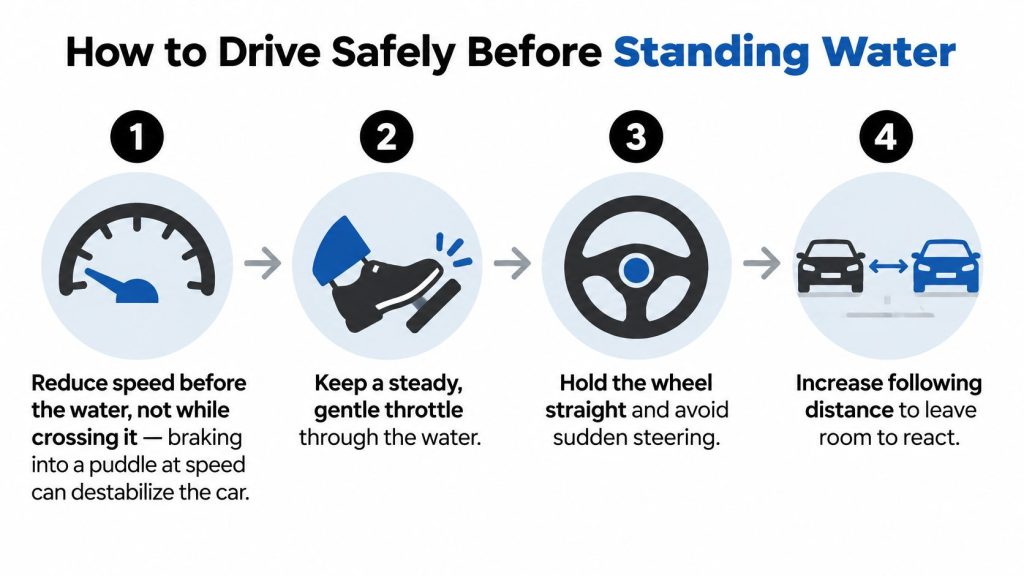
How to Drive Safely Before Standing Water
Everything up to this point is preparation. This part is the moment itself, and it’s a procedure, not a reaction.
- Slow down before the water, not while you’re in it. Braking hard as the front tires reach a puddle shifts weight forward and unsettles a car that’s about to lose contact anyway. Get your speed down a hundred feet early.
- Kill the cruise control. It can’t feel water and it will keep feeding throttle as the tires start to float. Your right foot should be the only thing setting speed in heavy rain.
- Stretch the following gap. Federal Highway Administration guidance on driving through standing water recommends adding at least one second to the normal three-second gap in rain, and two seconds in rain plus darkness. If you want the reasoning behind that spacing, our breakdown of safe following distance covers how to measure it without guessing.
- Choose the lane with the least water, and choose early. Outside lanes collect water in wheel ruts, so the smoothest line is often one lane in from the edge. Move over only when the lane change can be completed without abrupt steering.
- Cross in a steady line. Hold the wheel straight, keep light constant throttle and don’t add steering input halfway through.
The benchmark worth memorizing
The same FHWA guidance sets a practical working figure: 40 mph or higher in water deeper than roughly 0.1 inch is a high-risk combination. It isn’t a universal trigger, because tire design, pressure, tread, water depth and pavement texture all vary. It is a usable line in the sand when you can see standing water and your speedometer is sitting above it.
Pitfalls that cancel out everything above
Two mistakes undo good preparation faster than anything else.
All-wheel drive doesn’t help here. It improves propulsion on a slippery surface, but it cannot restore tire-to-road friction once the tires are floating. AWD gets you moving; it doesn’t get you steering.
Tailgating a truck is worse than tailgating a car. Big rigs throw spray that kills your visibility and their tires cut troughs that collect water. If you can’t see the truck’s mirrors, you’re too close to react to anything it reveals.
When a wet-road slide does end in a crash, the aftermath has its own procedure. The rain accident guidance from LA Law Group explains what to document at the scene and how wet-weather liability gets handled.
How to Recover When the Car Starts to Slide
The warning signs arrive before the slide does. The steering wheel goes light and stops answering. Road noise drops away because the tires are no longer drumming on asphalt. The engine revs without the car gaining speed. If you notice any of those, you’re already hydroplaning and the next two seconds matter.
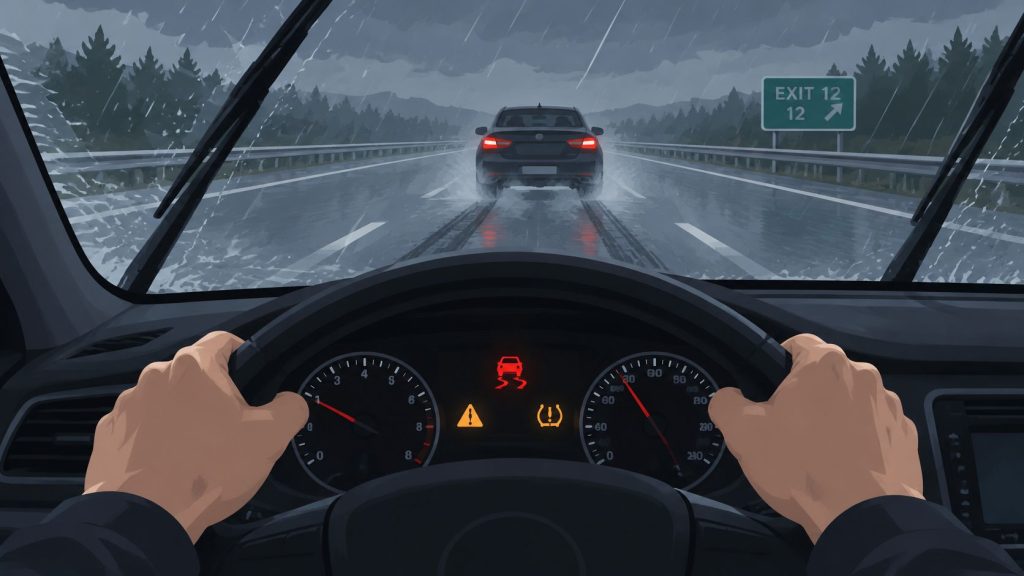
Here’s the sequence I want you to run.
- Hold the wheel firmly with both hands and aim it. Point the car where you want it to end up, not where it’s drifting.
- Release the accelerator gently. Lifting abruptly throws weight forward at the worst moment. A gradual release lets speed fall without a destabilizing transfer.
- Don’t brake hard, don’t steer sharply, don’t touch cruise control. Any of the three can convert a straight-line slide into a rotating one.
- When grip returns, correct small. Tiny steering inputs, progressive brake pressure if you need to slow. The sudden return of lateral grip can snap the car sideways if you’re already turning.
- Don’t accelerate right away. Recovery takes less speed than the speed that started the slide, so a brief flicker of grip is not permission to resume your old pace.
Why sudden inputs make it worse
AAA guidance on driving in the rain warns specifically that sudden deceleration or steering turns a straight-line slide into a skid, while a gradual throttle release lets speed decrease without a weight transfer that unloads the tires.
The mechanism is a water wedge. When the tread and the pavement together can’t drain water fast enough, that wedge lifts the tire off the surface. Slowing down reduces how much water the tire has to move per second, which lets the tread re-establish contact.
ABS and practice, handled properly
If your car has anti-lock brakes, follow the manufacturer’s braking guidance and hold firm steady pressure. Don’t pump the pedal. ABS manages wheel lock on its own.
Never rehearse any of this in live traffic. A wet empty parking lot after the storm has passed is where you feel what light steering feels like, at 20 mph, with nothing to hit. Our lesson on emergency maneuver training covers the full input sequence for loss-of-traction situations.
After the tires come back
Once you’ve got steering again, slow smoothly and get off the roadway if conditions stay bad. Don’t celebrate by speeding up into the next puddle.
And if the slide ends in contact with a guardrail or another vehicle, what you do next matters as much as what you did during. The Law Office of John P. Sherman’s guide covers the documentation and first calls after a crash.
Book a Defensive Driving Course Before Your Next Rainy Commute
Reading this is not the same as having the habits. Under pressure, drivers revert to whatever they’ve practiced, and many have practiced nothing but braking. A defensive driving course builds the automatic behaviors that survive contact with real weather: following distance, hazard anticipation and crash avoidance.
Start with our defensive driving course if you want the full habit set rather than a single technique.
BDISchool’s Florida-approved Basic Driver Improvement course is a 4-hour online program built for drivers who’ve picked up a moving violation. It helps you avoid points on your license, and it helps you maintain Excellent Driver Safe Driver Status or the associated discount. The courses are self-paced, available in English, Spanish and Portuguese, and completion certificates are reported electronically to the FLHSMV. You can browse everything at BDISchool’s course catalog or at Driver Educators.
How long is the basic course? Four hours, and you set your own pace within that.
Can I study on a phone? Yes. The courses run on any device with a browser.
Are certificates sent to the state? Yes. Completion is reported electronically to the FLHSMV.
Rain doesn’t wait for a convenient week. Register before the next storm system lines up on the radar.
BDISchool teaches the wet-weather decisions that most drivers improvise, from following distance to loss-of-traction recovery, in Florida-approved courses you complete entirely online at your own pace. If this article changed how you think about standing water, the next step is drilling those habits until they’re automatic. Visit BDISchool to pick a course and get started before your next rainy commute.